
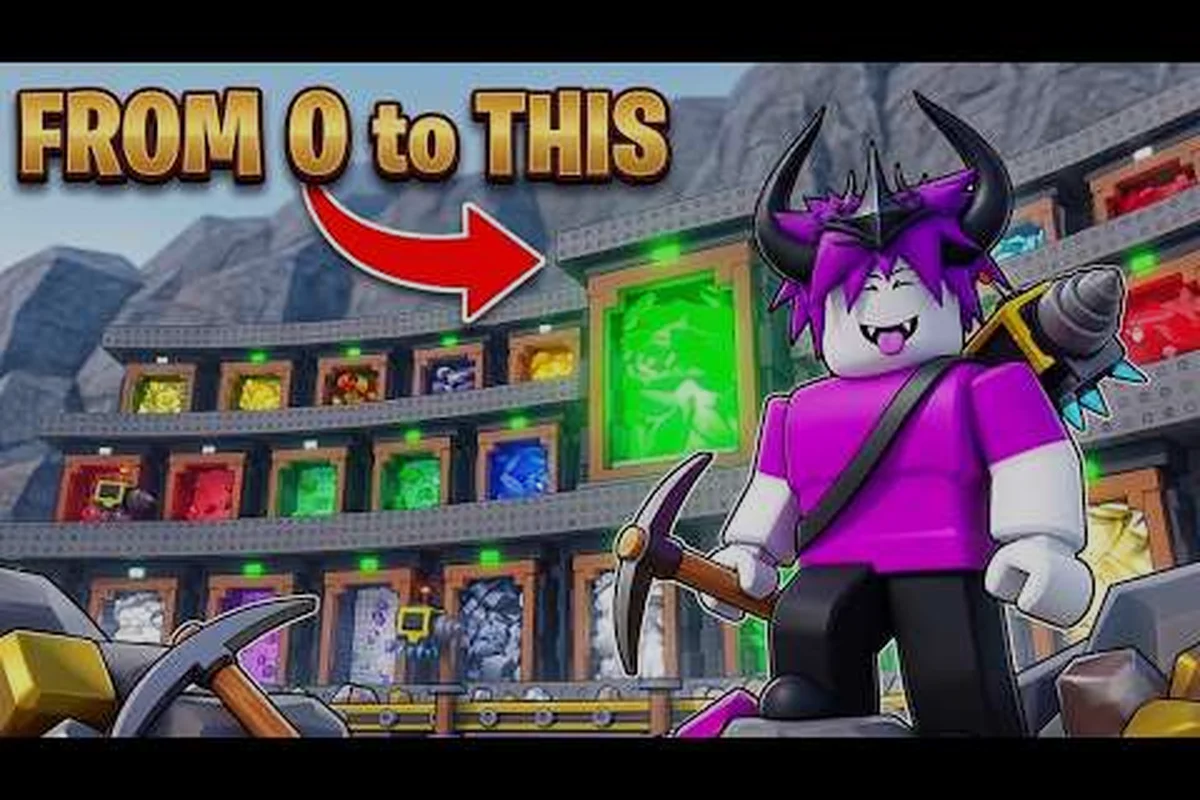
Building a Sell Ores mining factory that actually compounds instead of bottlenecks comes down to the order in which you buy base parts, the way base slots stack, and the layout you leave for drones. This blueprint walks through every base part, the base size math behind it, and the floor layout that keeps ore moving from drill to sell conveyor without downtime, so you can stop guessing and start upgrading with a real plan.
What the Mining Factory Actually Does in Sell Ores
The mining factory is the end-game structure that multiplies your base's total ore output. Instead of each drone slowly mining one floor, the factory acts as a central processing hub that buffs the value and speed of everything placed around it. According to the official Sell Ores Roblox game page, the game is built around three loops: place and mine ores, upgrade drones, and expand your base — and the factory is the upgrade that ties all three together.
Factory Role vs. Drone Role
Your drones are the active workers; the factory is the passive infrastructure they rely on. Drones handle movement and pickup speed, while the factory boosts total yield and unlocks higher-tier processing for your ore floors. If you upgrade drones first, you mine faster but still sell at base price. If you upgrade the factory first, you can process more value but extraction lags behind. The smart play is to keep the two within two upgrade tiers of each other.
| System | Primary Effect | Best Early Use | Common Mistake |
|---|---|---|---|
| Drones | Faster mining + carry speed | First 30 minutes of play | Maxing all 5 drone types before touching base |
| Mining Factory | Multiplies total ore output | After unlocking 2nd ore floor | Building factory before base slots are full |
| Ore Floors | Unlocks higher-value ores | Once factory is Tier 1 | Skipping floors and staying on Tier 1 coal |
How Factory Output Stacks with Base Size
Sell Ores uses a base parts system where each part you buy adds slots, and the factory scales off those slots. Community testing reported by players on The Ore Drillers Discord group shows that factory output roughly doubles every time you double your active base slots. That makes base slot count the single biggest multiplier for the factory — not the factory's own internal level. Players who rush the factory without expanding base size first see a much smaller return on investment because there simply aren't enough drones and floors to feed it.
Base Parts, Base Slots, and Base Size Explained
Before you build the mining factory, you need to understand the three base systems that feed it: base parts (what you buy), base slots (what you place), and base size (the footprint your base takes up on the map). Each one matters, and each one has a different cost curve.
Base Parts vs. Base Slots
A base part is a physical piece of the base you purchase with in-game money. Each base part contains one or more base slots, and slots are where you place drones, ore floors, and factory connectors. The cheapest base parts usually give one slot, while mid- and late-game parts give two or three. Players often confuse the two and end up with a base that has many parts but very few active slots, which is the worst-case setup for factory scaling.
| Tier | Base Parts Available | Slots per Part | Avg. Cost Range | Notes |
|---|---|---|---|---|
| Starter | 3 parts | 1 slot each | Lowest | Default base, no factory support |
| Tier 1 | 5 parts | 1–2 slots | Moderate | Unlocks first factory slot |
| Tier 2 | 6 parts | 2 slots | High | Required for factory Tier 2 |
| Tier 3 | 5 parts | 2–3 slots | Very high | Required for factory Tier 3 |
Base Size and the Factory Footprint
Base size is the total area your base occupies, and the mining factory needs a minimum footprint before it can be placed. Once you reach the size threshold, the factory fits inside your existing base rather than expanding it. That is why expanding base size before unlocking the factory is so important: if you build the factory too early, you will have to spend money re-expanding the base just to fit it. A solid target is to grow your base size to roughly 2x starter footprint before you place the Tier 1 factory, then expand another 50% per factory tier.
How Base Unlock Tiers Work
The base unlock system in Sell Ores is gated by a combination of total money earned, drones purchased, and floors discovered. Community data from The Ore Drillers group suggests the unlocks roughly follow this order:
-
Starter Base — 0 money, default parts
-
Tier 1 Unlock — first new base parts and ore floors become available
-
Tier 2 Unlock — factory becomes placeable; mid-tier floors and drones unlock
-
Tier 3 Unlock — late-game ore floors and the higher factory tiers become available
For a deeper look at how these unlocks stack against each other, the Sell Ores base-building guide covers the unlock order in detail and pairs well with this factory blueprint.
Sell Ores Build Mining Factory: Step-by-Step Order
The single biggest mistake new players make is upgrading everything at once. The factory only works well when the base around it is ready. Below is the exact order most veteran players use when they set out to build mining factory infrastructure from a fresh save.
Phase 1: Stabilize the Starter Base
Start by buying the cheapest base part that gives the highest slot density per dollar. According to community testing, the second and third base parts you can afford almost always give better slot-per-coin value than the first. Pair this with a single drone speed upgrade so your existing workers can keep up with the new slots. If you want a full breakdown on which upgrades to prioritize, the Sell Ores upgrade priority guide covers the math behind picking the right first purchase.
Phase 2: Unlock the First Factory Slot
Once you have 8–10 active slots and at least one upgraded ore floor, the Tier 1 factory becomes available. Place it as close to the center of your base as possible. The factory has a small range, and floors or drones placed at the edge of the range get a smaller bonus. If your base layout is lopsided, you can move factory position later — but doing so costs money, so a centered placement from the start saves you that expense.
Phase 3: Expand Base Size Before Tier 2 Factory
Before you upgrade the factory to Tier 2, expand your base size to fit a second factory module and at least four more active slots. The Tier 2 factory multiplies output more aggressively, but it needs more floors and drones to feed it. If you upgrade the factory without expanding the base first, the multiplier runs on empty and you waste money. Community reports on The Ore Drillers Discord consistently show that the players who expand base size first, then upgrade the factory, hit higher ore-per-hour numbers than the players who do the reverse.
Phase 4: Place the Tier 3 Factory
The Tier 3 factory is the long-term target. It requires both a large base size and at least three ore floors of different tiers. At this point you should already be running two or three active drone types. The Tier 3 factory is also where the floor layout you choose really starts to matter, because the bonus range is large enough that good placement adds hundreds of thousands in passive ore value per hour.
| Phase | Money Spent On | Why This Order | Common Mistake to Avoid |
|---|---|---|---|
| 1 | Cheap base parts + 1 drone | Get 8–10 active slots | Spending on cosmetics or rebirth |
| 2 | Factory Tier 1 | Start scaling output | Placing factory off-center |
| 3 | More base parts + floors | Feed the factory | Skipping floors for size |
| 4 | Factory Tier 2/3 | Maximize compound output | Forgetting to balance with drone speed |
Sell Ores Factory Upgrade: Which Tiers Matter Most
Factory upgrades come in three tiers, and they don't all pay off equally. The first tier is a huge jump, the second tier is solid, and the third tier is a long-term goal that only matters once your base is large enough. Knowing which tier to push for, and when, saves you from overspending early.
Factory Tier Comparison
| Tier | Cost (Relative) | Output Multiplier | Base Size Required | Recommended Priority |
|---|---|---|---|---|
| Tier 1 | Lowest | ~1.8x base output | Starter +1 part | Build ASAP after first ore floor |
| Tier 2 | Moderate | ~1.5x Tier 1 output | +50% base size | Push for after Phase 3 |
| Tier 3 | High | ~1.3x Tier 2 output | +100% base size | Long-term goal only |
When to Skip a Factory Tier
Sometimes it is actually better to skip an upgrade. If your base has fewer than 6 active slots when you are considering a factory upgrade, you are better off buying base parts first. The factory scales with the number of slots, drones, and floors feeding it, and an underfed factory is wasted money. The exact ratio varies per save, but a useful rule of thumb from the Sell Ores community is: never push the factory tier above the floor tier by more than one level.
Factory Upgrade Synergies with Drones
Factory upgrades work best when paired with drone upgrades that match the new output. For instance, Tier 2 factory output will leave your starter drone standing idle because it cannot carry ore fast enough. A mid-tier drone speed upgrade, like the kind covered in the Sell Ores drone speed upgrade guide, keeps extraction matched to factory capacity. This pairing is one of the most reliable compound growth patterns in the game, and skipping it is the most common reason players feel "stuck" at mid-game.
Best Base Layout and Floor Blueprint for the Mining Factory
The layout you choose for your base decides whether the factory runs at full efficiency or at half capacity. Most players build the factory first and then try to fit floors around it, which is backwards. Build the floors and slots first, then drop the factory in the center of the highest-density area.
Three Layout Templates That Actually Work
| Layout | Best For | Slot Density | Factory Efficiency | Drawback |
|---|---|---|---|---|
| Central Factory | Balanced play | High | Very high | Hard to expand later |
| Linear Conveyor | AFK play | Medium | Medium | Slow ore flow |
| Cluster Grid | Active play | Very high | High | Needs careful drone routing |
The Central Factory Layout
The central factory layout is the most reliable factory-first setup. You place the mining factory in the middle of the base, then surround it with ore floors and drone slots in a tight ring. Ore flows inward to the factory, processed value flows outward to the sell conveyor, and drones have short travel paths in every direction. This layout scales well into Tier 3 factory because you can add new floors to the outer ring without touching the inner core.
Conveyor Layout for Maximum Flow
The linear conveyor layout is best if you plan to leave the game running while AFK. You place the factory at one end, ore floors in a line down the center, and the sell conveyor at the other end. Ore flows in one direction the entire time, so even if your drones are slow, the chain never gets blocked. The downside is that you cap out at lower slot density, so the linear layout is a stepping stone, not a long-term home.
The Cluster Grid Layout
The cluster grid layout maximizes slot density and is the best late-game choice. You divide the base into 2x2 or 3x3 clusters, each with its own mini-factory support and ore floors. This is the most complex layout to set up, but it scales into the highest factory output once you have all three tiers unlocked. Players who run this layout report the best ore-per-hour numbers in the game, according to community testing shared on The Ore Drillers Discord.
Drone Routing Tips
Where you place your drones matters as much as where you place the floors. Drones should have a short path between the floor and the factory connector. If a drone's path crosses more than two other drones' paths, throughput drops. A good rule is to place high-priority floors and slots on the inner ring nearest the factory, and lower-tier floors on the outer ring. For a full breakdown on drone routing, the Sell Ores drone mining speed guide covers the routing math in detail.
Common Mistakes When Building the Sell Ores Mining Factory
Even experienced players fall into the same traps when building the mining factory. Most of these come from upgrading in the wrong order or from not planning the layout before placing expensive parts. The good news is that they are all easy to avoid once you know what to look for.
Upgrading Factory Before Base Size
This is the most expensive mistake in the game. Upgrading the factory without expanding base size leaves the multiplier running on a small base. The factory only adds value to the slots and floors that exist, and a small base means a small multiplier. The cost to undo this mistake is high because factory upgrades cannot be refunded.
Ignoring Floor Variety
Factory output scales harder when you have multiple ore floor tiers running at once. A base with only Tier 1 floors and a Tier 3 factory underperforms a base with mixed tiers and a Tier 2 factory. As soon as you unlock a new ore floor, add at least one slot of it to your base so the factory has higher-value ore to process.
Skipping Drone Speed to Push Factory Tiers
Drones that cannot carry fast enough turn the factory into a bottleneck. The factory waits for ore, ore waits for drones, and the entire chain stalls. The fix is to keep your drone speed at or above your factory tier at all times. If you cannot afford the matching drone upgrade yet, hold off on the factory upgrade until you can.
Poor Floor Placement Around the Factory
Floors placed at the edge of the factory's bonus range get a much smaller bonus. This is a layout mistake, not an upgrade mistake, and it is fully fixable by moving floors. The rule is simple: keep at least two ore floors inside the inner bonus ring of the factory, and only use the outer ring for lower-value floors or future expansion space.
Spending on Rebirth Before the Factory Is Built
Rebirth and prestige systems are tempting because they promise a long-term boost, but resetting your base before the factory is fully built wipes out hours of layout work. The community consensus, reported by The Ore Drillers group, is to finish the Tier 2 factory and at least two ore floor tiers before considering any reset.
Sell Ores Mining Factory in the Long Game
The factory is the upgrade that makes the rest of the base feel different. Once it is in place, every other system — drones, floors, base size, base parts — compounds against it instead of against your raw money income. That is the real value of the mining factory: it converts one-time purchases into permanent multipliers.
Players who build the factory after their base is already large tend to hit a smooth growth curve, while players who build it first tend to hit a wall and need to rebuild. According to the Sell Ores game page, base expansion costs money, so pairing base upgrades with drone and ore upgrades is the most reliable way to keep ore flowing nonstop. Following the four-phase build order in this guide, picking a layout that fits your playstyle, and keeping the factory tier within one level of your floor and drone tiers will keep your base growing without the rebuilds that slow down most players.
Frequently Asked Questions
When should I build the Sell Ores mining factory for the first time?
You should build the factory after you have 8–10 active base slots and at least one upgraded ore floor. Building it earlier means the multiplier has nothing to scale against, and you waste money. A good rule is to finish Phase 1 base expansion first, then drop the Tier 1 factory in the center of your base.
What is the difference between base parts and base slots in Sell Ores?
Base parts are the physical pieces you buy with money, and each part contains one or more base slots where you place drones, ore floors, and factory connectors. Two bases with the same number of parts can have very different slot counts depending on which parts you bought, and slot count is what actually drives factory output.
Do factory upgrades scale with base size in Sell Ores?
Yes. Factory output scales with the number of active slots, ore floors, and drones placed inside its bonus range. Expanding base size before upgrading the factory is the single most reliable way to get more value per dollar spent on factory tiers.
Should I max the factory or drones first in Sell Ores?
Neither — keep them within one upgrade tier of each other. Maxing one before the other creates a bottleneck: a maxed factory with slow drones starves for ore, and a maxed drone team with a weak factory sells at base price. The best growth comes from pairing drone speed upgrades with factory tiers, since they compound against each other.
Is the central factory layout always the best Sell Ores base layout?
It depends on your playstyle. The central layout is the most reliable for balanced play and scales well into late game. The linear conveyor layout is better for AFK sessions, and the cluster grid layout gives the highest slot density once you have all three factory tiers. Pick the one that matches how you actually play, because the best layout is the one you will stick with.